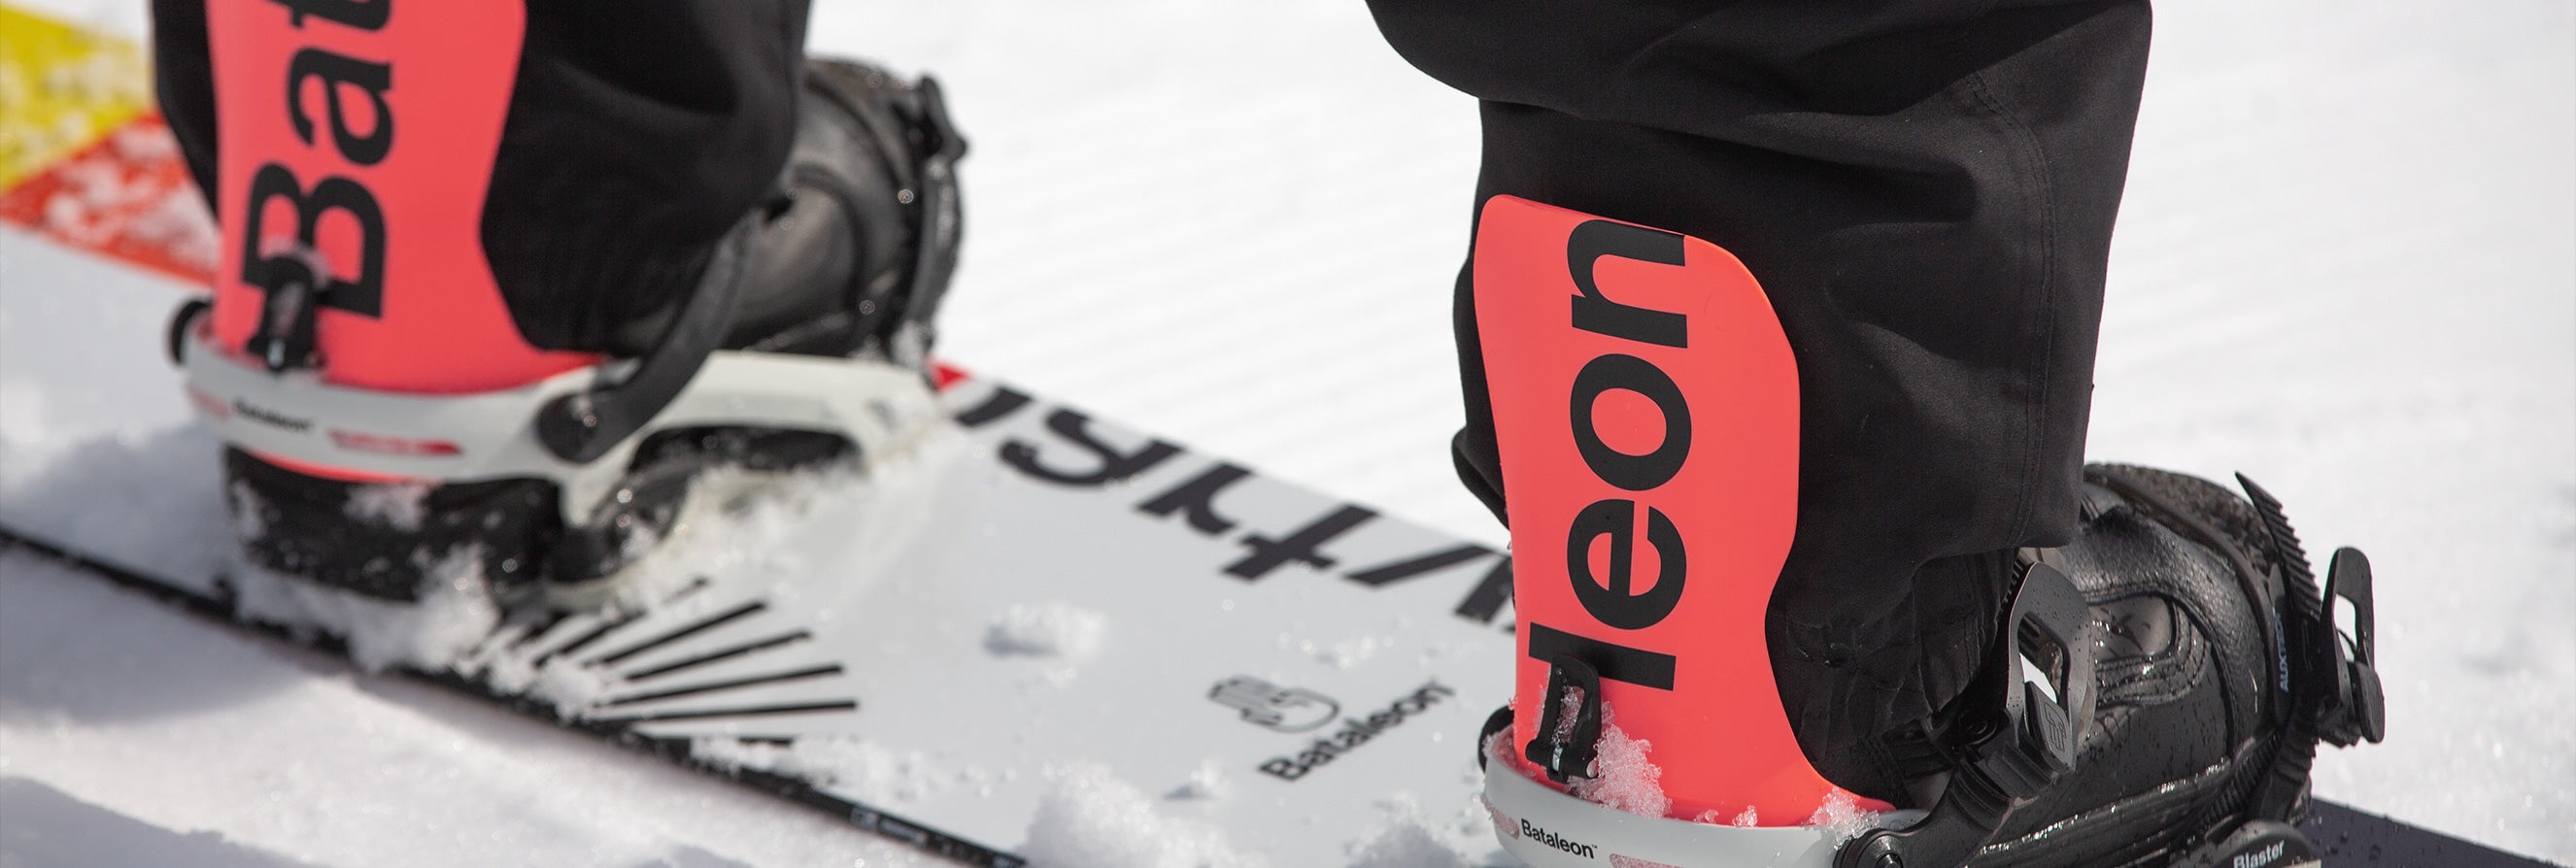
Ultimate Snowboard Bindings Setup Guide
12 Apr, 2024
|
Boardertown
The Ultimate Guide to Setting Up Your Snowboard Bindings
Welcome to Boardertown.co.nz's essential guide on how to set up your snowboard bindings to make the most out of your snowboard. Whether you're getting ready for your first snowboarding trip or looking to fine-tune your setup for a more personalized ride, this detailed walkthrough will ensure your bindings are perfectly adjusted for optimal performance.
What You'll Need
Before we get into the detail of snowboard binding setup, ensure you have the following items on hand:
- A number three Phillips screwdriver or snowboard tool
- Your snowboard bindings, which should come with two 4x4 discs, eight screws, and washers.
- A sturdy surface to work on that won’t damage your board or be scratched by it.
- Your snowboarding boots, for checking the fit as you go along.
Step 1: Determine Your Stance
Firstly, it's crucial to establish whether you ride goofy (right foot forward) or regular (left foot forward). An easy way to find this out is by having someone gently push you from behind to see which foot you instinctively step forward with.
Next, you'll need to decide on your stance width. If your snowboard is the correct size, starting with the reference stance marked on your board is a good baseline. You can adjust from there based on what feels natural and comfortable. Generally, having your bindings set slightly wider than your shoulder width will allow you to stand comfortably with knees slightly bent, allowing for a full range of movement.
Step 2: Positioning Your Bindings
When placing your bindings on the board, ensure they are facing the correct direction -- the buckles should face outwards to allow for easy access. The bindings are usually marked with "left" and "right" indicators on the bottom of the foot pad.
Step 3: Setting Stance Angles
The discs that come with your bindings will have numbers indicating the angle settings. These should be aligned with the base plate markers. A common starting point is setting your front foot to a +15-degree angle and your back foot to 0 degrees, but feel free to adjust based on comfort and riding style. If you mainly ride in your normal stance (goofy or regular), then a flatter angle on your back foot may be more comfortable. If you ride ‘switch” often (the opposite stance), having your angles at +15 / -15 degrees will provide more power when riding switch.
Ensuring your angles are correct for your riding style will ensure a comfortable and controlled ride. Your stance angles may also evolve over time as your riding progresses so don’t be afraid to tweak your setup.
Step 4: Securing the Bindings
Now, align the binding discs with your desired stance angle and position, then loosely attach them to the board with the screws diagonally, but don't tighten fully yet. Verify the bindings are centered between the edges of the board, then secure them by tightening the screws. Avoid using a mechanical drill to prevent over-tightening and damage.
Step 5: Adjusting for Boot Fit
Strap your boots into the bindings to check for a centered fit on the board. Both toes and heels should slightly overhang the board edges equally. If one side overhangs more than the other, adjust your bindings.
Step 6: Fine-Tuning Strap Position
The last major step involves ensuring the toe and ankle straps fit snugly and centered over your boots. Most modern bindings offer tool-less adjustments for this - simply open the clips on the straps and adjust as necessary.
Regular Checks and Adjustments
Remember, the perfect snowboarding experience is about continual fine-tuning and adjustments. Always re-check your setup before heading out, paying particular attention to any loose screws after transport or after a few runs.
Wrapping Up
Setting up your snowboard bindings correctly is crucial for a comfortable and responsive riding experience, whether carving down groomers or floating through deep powder. With this guide, you now have the know-how to do it right. Always remember to make adjustments based on personal preference and comfort, and most importantly, enjoy the ride!
For more advice on setting up your snowboard, pop into any of Boardertown Store and speak to one of our expert team.
About Boardertown
Boardertown stands as a cornerstone in New Zealand's snowboarding scene, offering deep-rooted experience and expertise in the snow. Born from a genuine passion for snowboarding, our store is staffed by seasoned riders who bring a wealth of knowledge and practical insights to our customers. With a commitment to quality, Boardertown carefully curates a wide range of snowboarding gear from leading brands like Burton, Union, Bataleon and Capita, ensuring that our customers are equipped with the best products for their needs. As New Zealand's premier snowboard retailer, Boardertown is more than a store; it's a resource for anyone looking to enhance their snowboarding experience, backed by a legacy of excellence and a dedicated community of riders.